Understanding the Difference Between Surface Roughness and Surface Finish
In the field of mechanical engineering and manufacturing, understanding surface characteristics is crucial for ensuring product performance, functionality, and longevity. Two terms that are often used interchangeably but have distinct meanings are surface roughness and surface finish. Let’s explore the differences between these two important concepts.
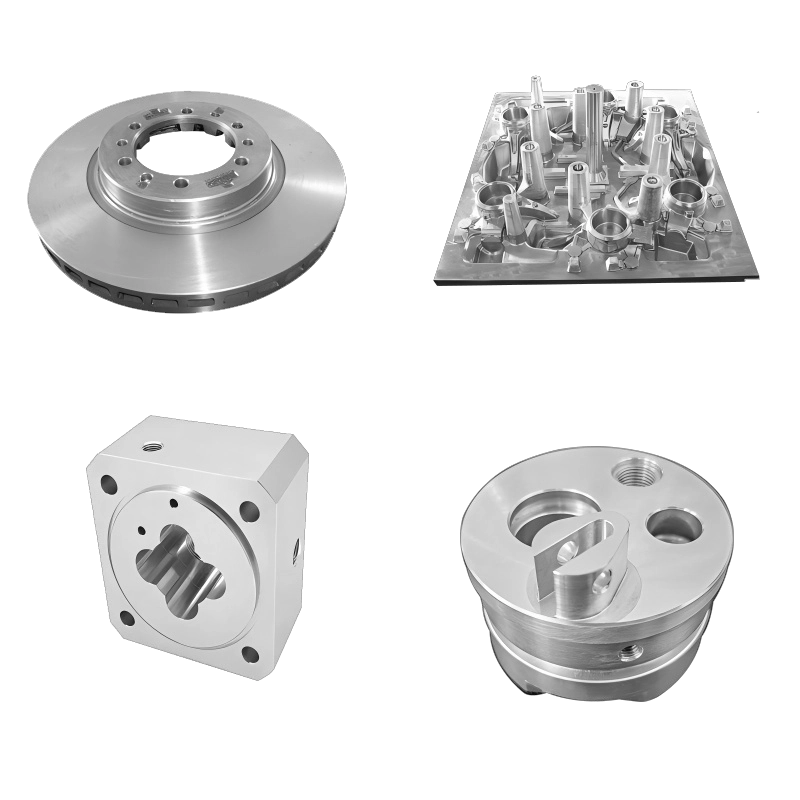
What is Surface Roughness?
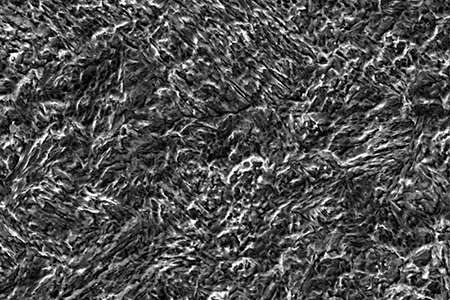
Surface roughness refers to the micro-geometry characteristics of a machined surface, consisting of small spacing and peaks and valleys. It is a quantifiable parameter that describes the irregularities on a surface at the microscopic level.
Key Characteristics of Surface Roughness:
- Scientific Definition: It is defined by the small-scale variations in the height of a surface relative to a reference plane
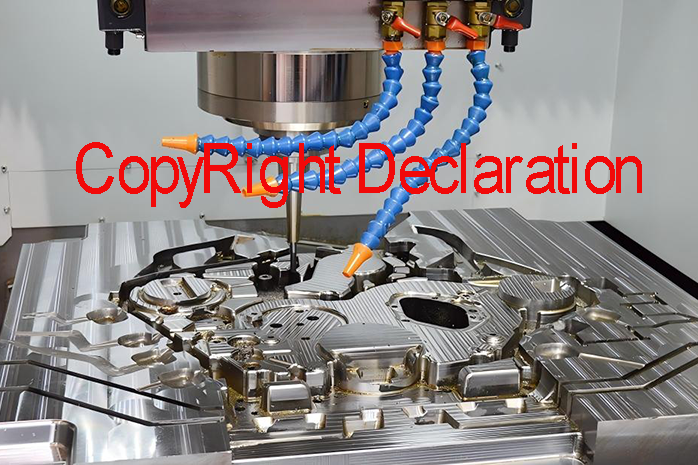
- Formation Factors: Created by various machining processes such as:
- Friction between cutting tools and work piecesurface
- Plastic deformation of surface layer metal during chip separation
- High-frequency vibrations in the machining system
- Measurement Parameter: Typically measured using Ra (Arithmetic Average Deviation)
- Importance: Directly affects:
- Fit and assembly of mechanical parts
- Wear resistance and durability
- Fatigue strength
- Contact stiffness
- Vibration and noise levels
Ra Parameter Explained
Ra (Arithmetic Average Deviation) is the most commonly used parameter to quantify surface roughness. It represents the arithmetic average of the absolute values of the profile deviations from the mean line over the sampling length L.
What is Surface Finish?
Surface finish is essentially the old terminology for surface roughness. It was a qualitative assessment based primarily on visual inspection.
Key Characteristics of Surface Finish:
- Historical Term: Used before the 1980s in China and some other countries
- Visual Assessment: Evaluated based on human visual perception
- Replacement: After the 1980s, China adopted surface roughness standards to align with international ISO standards
- Obsolescence: With the issuance of national standards GB3505-83 and GB1031-83, the term “surface finish” was officially replaced by “surface roughness”
- Assessment Method: Primarily evaluated using comparison with standard samples, which is less scientifically rigorous compared to roughness measurements
The Relationship Between Surface Finish and Surface Roughness
While surface finish and surface roughness refer to similar surface characteristics, there are important distinctions:
| Aspect | Surface Finish | Surface Roughness |
| Nature | Qualitative visual assessment | Quantitative measurement |
| Evaluation Method | Visual comparison with samples | Precise measurement with instruments |
| Scientific Rigor | Less rigorous | More scientific and precise |
| Current Usage | Obsolete terminology | Current international standard |
Conversion Table: Surface Finish Grade to Roughness Ra Values
Here is a comprehensive conversion table showing the relationship between the old surface finish grades and corresponding Ra values:
| Surface Finish Grade | Ra Range (μm) | Typical Ra Value (μm) | Surface Appearance | Machining Methods |
| ▽ 1 | 40~80 | 50 | Obvious visible tool marks | Rough turning, boring, planing, drilling |
| ▽ 2 | 20~40 | 25 | Visible tool marks | Rough turning, planing, milling, drilling |
| ▽ 3 | 10~20 | 12.5 | Visible machining marks | Rough turning, planing, milling, drilling |
| ▽ 4 | 5~10 | 6.3 | Visible machining traces | Turning, boring, planing, drilling, milling |
| ▽ 5 | 2.5~5 | 3.2 | Slightly visible machining traces | Turning, boring, planing, milling, grinding |
| ▽ 6 | 1.25~2.5 | 1.6 | Hardly visible machining traces | Turning, boring, planing, milling, reaming, grinding |
| ▽ 7 | 0.63~1.25 | 0.8 | Distinguishable machining direction | Turning, boring, broaching, grinding |
| ▽ 8 | 0.32~0.63 | 0.4 | Slightly distinguishable direction | Reaming, grinding, boring, broaching |
| ▽ 9 | 0.16~0.32 | 0.2 | Indistinguishable machining direction | Buffing, grinding, lapping |
| ▽ 10 | 0.08~0.16 | 0.1 | Dull glossy surface | Super finishing |
| ▽ 11 | 0.04~0.08 | 0.05 | ||
| ▽ 12 | 0.02~0.04 | 0.025 | ||
| ▽ 13 | 0.01~0.02 | 0.012 | ||
| ▽ 14 | <0.01 | 0.006 |
Applications Based on Surface Quality
- ▽ 1-▽ 4: Rough surfaces for non-critical applications
- ▽ 5-▽ 6: General-purpose surfaces with moderate quality requirements
- ▽ 7-▽ 8: Precision surfaces requiring good fit and function
- ▽ 9-▽ 10: High-precision surfaces for critical applications
- ▽ 11-▽ 14: Ultra-precision surfaces for specialized applications
How to Improve Surface Quality
To enhance both surface finish and reduce surface roughness, modern manufacturing techniques can be employed:
- Advanced Machining Techniques:
- Precision grinding and lapping
- Ultrasonic machining
- Electrical discharge machining (EDM)
- Laser surface treatment
Conclusion
Understanding the difference between surface roughness and surface finish is essential for modern manufacturing. While surface finish is an obsolete qualitative term based on visual inspection, surface roughness is a precise quantitative measurement that follows international standards. The adoption of surface roughness parameters like Ra has brought greater scientific rigor to surface quality assessment, ensuring better product performance, reliability, and interchangeability.
By selecting the appropriate surface roughness for each application and using advanced processing techniques, manufacturers can optimize product functionality, extend service life, and improve overall quality.
Keywords: surface roughness, surface finish, Ra parameter, machining, manufacturing, surface quality, mechanical engineering, ISO standards, GB standards

